
Light boxes (or light tents) provide a scene with even lighting and a seemingly no background, great for product photography. You can make one yourself with stuff you probably already have lying around. You will need:
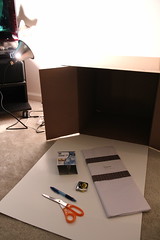
- A cardboard box
- White poster board
- White tissue paper
- Scissors
- Ruler or tape measure (for straight lines)
- Pen (to mark lines)
- Clamp lamps
- 100 watt light bulbs. I use GE “Reveal” bulbs which supposedly approach the color temperature of the sun.
- Tape such as Scotch tape or masking tape.
 Start by cutting a window on the left and right sides of the box, leaving about a one inch border for structural support. You may find it easiest to start in the middle of the window and cut out small sections at a time.
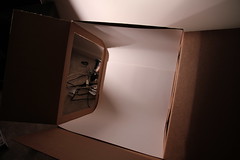
Next, erect the box and line it with the white poster board. Make sure you put the matte side of the poster board facing out to avoid any unwanted reflections. Also create a small curve in the poster board toward the back of the box to give the illusion that it goes on forever.
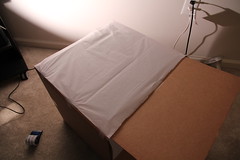
Then line the open sides of the box with tissue paper. This diffuses the light evenly over the inside of the box. You will have to experiment with how many layers of tissue paper is required. I’ve started with two.
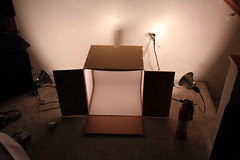
Now you’re ready to attach the lamps. I’m using clamp lamps which I picked up from Home Depot for $5 each. They attach firmly to the box sides and can be repositioned very easily. You can use desk lamps if you don’t have these.
Please have a fire extinguisher rated for paper and electrical fires handy. 200 watts of very hot lamps and and tissue paper don’t mix.
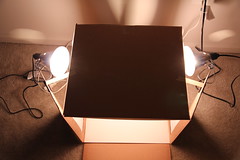
You will have to reposition the lamps to get the best possible lighting. Here I’ve held the lamps close to the windows using masking tape. You will have to experiment with this.
Before you begin, make sure you set a custom white balance. This is different for every camera, but typically you will take a photo of just the white background and the camera can figure it out from that. Then choose an object and try it out.
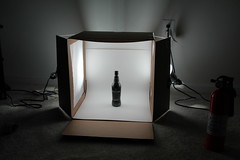
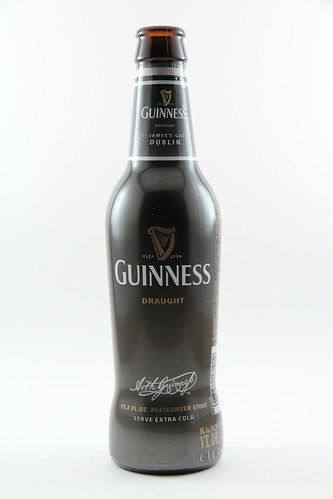
This was my very first test:
My other test did not turn out as well:
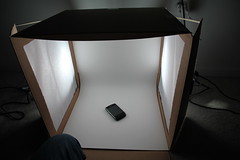
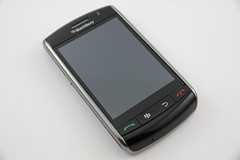
I will either need more light or more experimentation with exposure settings in order to get the background more white.
Either way, this light box was simple, fun, and cheap to create. I hope this has inspired you to try it out yourself!
desk lamps that uses compact fluorescent bulbs are much better than those that still uses incandescent lamps.*: